
- Step-by-Step Guide to Removing Adhesive Without Damaging Paint
- Effective Methods for Removing Stubborn Residue
- Essential Tools and Supplies for Safe Removal
- Key Precaution: Always Test Removers First
- What Happens If Adhesive Is Removed Improperly?
- What Safety Precautions Are Necessary When Using Solvents?
- Final Steps: Cleaning the Wall After Adhesive Removal
- How to Repair Minor Paint Damage After Adhesive Removal
- Similar posts:
Step-by-Step Guide to Removing Adhesive Without Damaging Paint
You need a careful, multi-step plan to get adhesive off walls without wrecking the paint. Ripping off old decals or stickers haphazardly often leaves you with chipped paint, sticky glue marks, or even surface damage. Using the right removal methods keeps your walls looking good, saves time, and prevents costly repairs later on.
Taking stickers off the right way protects paint from chips or peeling. These steps make the job easier and cut down on the headache of cleaning up sticky goop. Careful removal also saves walls from damage, which means you avoid the expense and work of fixing or repainting. Every step matters here, making sure paint stays put as you slowly peel back those wall stickers. Patience, a light touch, and the right tools are all you need to keep your walls pristine – and maybe even get your security deposit back.
How to Soften Adhesive with Heat
Heat makes wall sticker adhesive soft, which helps them peel off cleanly. Grab a hairdryer or heat gun. Keep it 6-8 inches from the sticker on low or medium heat. Move the heat in circles for 30-60 seconds. This warms the glue. If you have big stickers, handle them in sections. You can also use a warm, damp cloth to soften the adhesive – just don’t get the wall too wet.
Gentle Technique for Initial Adhesive Peeling
Carefully peeling off the sticker, while keeping the wall intact, is the most delicate part of this job. Use your fingernail or a plastic scraper. Gently lift one corner of the sticker with it. Is it too stubborn? Reapply heat to make the adhesive softer. Slowly peel the sticker at a consistent 45-degree angle. This technique reduces stress on both the sticker and the wall surface. Take your time, and you can avoid damage or sticky residue.
Vinyl stickers need extra care; peel them gently from the edges. This keeps the decal from ripping and harming the wall below. Good quality room stickers are made to leave very little residue.
Effective Methods for Removing Stubborn Residue
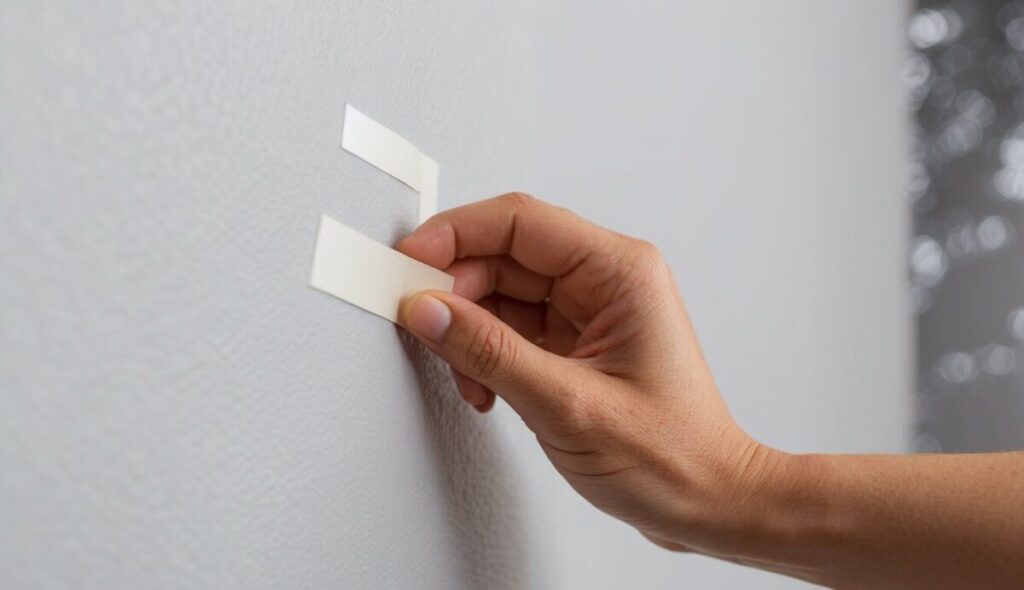
Getting rid of sticky adhesive is not the same as just warming up a wall sticker. You have many ways to tackle it, from common household items to strong commercial cleaners. The best choice depends on how caked on the goo is and what kind of surface you’re cleaning. Always test your remover somewhere hidden first. You don’t want to ruin the paint. If the residue just won’t budge, try mixing a few methods. Start with the gentlest ones.
Household Solutions for Light Residue
Warm, soapy water with mild dish soap cleans light adhesive residue from acrylic, plaster, glass, and vinyl. Need something stronger? Mix laundry detergent or baking soda with water to make a paste. You can brush it on, then rinse it clean. Olive or baby oil also helps – it dissolves the sticky stuff.
White vinegar, if warmed and applied with a cloth, gets rid of adhesive. But test it first; it doesn’t work on every wall. For dried tape marks on painted walls, a simple eraser can often do the trick.
Mild Solvents and Spray Lubricants
Rubbing alcohol can dissolve leftover gunk. It is not a solvent for pressure-sensitive adhesives, but it can remove paint – especially latex. WD-40, a mild solvent oil, works on remaining residue. Put some on a textured rag and scrub it. Keep it off painted surfaces, though; it can cause damage.
Lighter fluid also works. Apply it to a paper towel, then rub in circles. Before you do, test a hidden painted spot, checking for color fastness. These solvents all get under the glue, stopping it from sticking back onto the wall.
Commercial Adhesive Removers for Tough Cases
Got tough adhesive gunk? Commercial removers usually do the trick. These cleaners often use petroleum distillates or citrus extracts. They break down strong glue bonds. Just follow the label directions – let it sit until the gunk softens, then wipe it off.
Always test any commercial product first – pick a spot no one sees. This makes sure it won’t damage or fade your painted surface. Mineral spirits or paint thinner can tackle heavier adhesives. But you must test these and rinse well afterward. Acetone or nail polish remover also works on many glues. Be careful, though; they can strip paint or make it dull. Always test them too. Once the sticky stuff is gone, wash the area with mild soap and water. This gets rid of any leftover remover.
Mechanical Aids for Scraping and Lifting Residue
When adhesive softens or solvent gets applied, mechanical tools help lift tough residue. A plastic scraper or an old credit card works well for stubborn stickers and leftover goo – they won’t damage walls. You can also use a putty knife, but apply light pressure to avoid scratches. For small, persistent spots on durable, flat-painted walls, try micro-sanding with 320 – 400 grit sandpaper. Then, touch up the paint. Another trick involves fresh painter’s tape; press it onto the stuck glue and peel it off.
Essential Tools and Supplies for Safe Removal
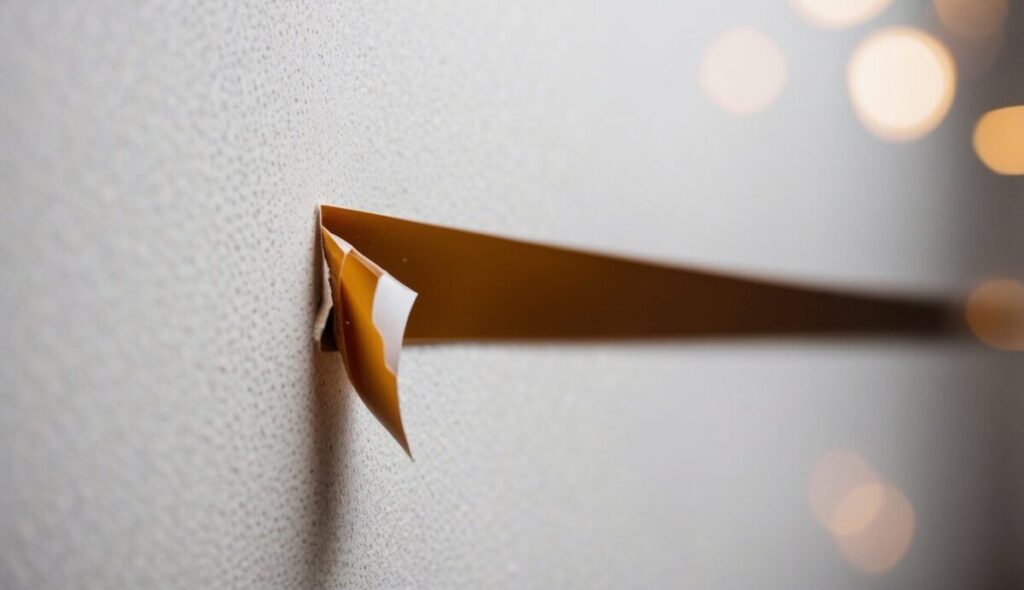
You’ll need specific tools and supplies to get adhesive off walls without ruining the paint. First, grab a hairdryer or heat gun – set it to low – this softens the glue. Then, use a plastic scraper or putty knife for careful lifting.
For cleaning, you’ll want a soft cloth, like microfiber, and some rubbing alcohol. Other helpful items include warm water, a little dish soap, olive oil, baby oil, white vinegar, baking soda, and painter’s tape. If the gunk is stubborn, a commercial adhesive remover might be necessary.
Key Precaution: Always Test Removers First
Test any adhesive remover on a hidden spot on your wall first. This keeps your paint safe and stops potential damage – like discoloration, a dull finish, or even peeling paint. Try out various solutions, including warm soapy water, rubbing alcohol, WD-40, vinegar, oil-based options, and store-bought removers. This check confirms the paint won’t fade or get damaged by some unknown chemical.
What Happens If Adhesive Is Removed Improperly?
Taking off adhesive the wrong way often wrecks surfaces. You might chip paint, peel it, or even damage the wall itself. Often, sticky residue gets left behind, calling for more cleanup work.
Think about contact paper – it’s a good example. If it’s been on a wall for a long time, its acrylic adhesive hardens. This stuff can actually pull off paint and stain finishes. The adhesive bond can get stronger than the paint’s own grip on the wall. This destroys how a room looks, making expensive repairs or repainting necessary.
What Safety Precautions Are Necessary When Using Solvents?
Working with paint thinner, lacquer thinner, acetone, or mineral spirits demands careful attention to safety. Always open windows and doors, ensuring good ventilation to keep harmful fumes away. Lacquer thinner and acetone, for instance, are very volatile – they need excellent airflow.
You must wear safety glasses and gloves every time. Never use alcohol on latex paint; it will dissolve the finish. Read the product label instructions and follow them exactly. These solvents are flammable, so keep them far from any open flames or other heat sources.
Final Steps: Cleaning the Wall After Adhesive Removal
Once you’ve scraped off all the adhesive, really clean the wall. This makes it look good again and ready for new decorations. Mix warm water with a little dish soap; the warm water helps loosen dirt, and the soap cuts through grease. Wipe the painted surface gently – use a soft cloth so you don’t scratch anything.
Have some stubborn marks? A damp cloth with a touch of rubbing alcohol can help. After washing, grab a fresh, damp cloth to wipe away any soap film. Finish by drying the wall completely.
How to Repair Minor Paint Damage After Adhesive Removal
Fixing minor paint damage after adhesive removal takes a few key steps. Start by wiping the damaged spot with a damp cloth; get rid of any dust. Use a putty knife to carefully fill chips or small holes with spackling paste.
Once that paste dries, sand the area smooth with 320 – 400 grit sandpaper. Then, repaint it with a color that matches. If the damage is extensive – or if you’ve skim-coated – prime it first. Gardz clear sealer or oil-base Kilz will block residue and help the new paint stick.